These cute fabric covered headbands are so easy to make and we're so glad we finally have a tutorial here on our website to share with you. Paige found one of my headbands that she had kept from college and so I took a close look at it and thought, "I think I can make this." After trial and error on a few drawn out patterns, we finally decided this was the size we liked.

First thing you need to do is download and print out the pattern that I drew out. You can get it HERE. Make sure you cut out the pattern on the outside of the black line. I think this might be a tad bit thinner but you can make it wider if you'd like.

The printed drawing is only half of the final pattern so make sure you place the wide part of the pattern on the folded edge of the fabric.

I doubled my fabric so that I could get both sides at one time.

This is what they should look like after you've cut them out.

You will also need some light interfacing to help stabilize the headband. You'll only need one of these.

Next, you need to iron down about 1/4 inch on each end of your fabric.

Your interfacing will need to be cut, on each end, about 1/4 inch so that it will be equal length with the fabric.

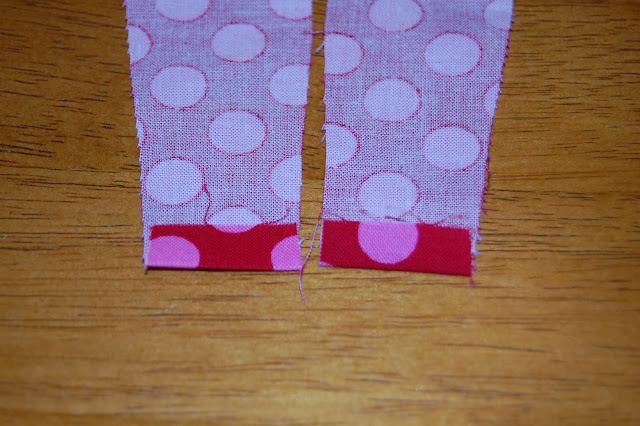
Now, you need to layer your three pieces like the picture above. Right side of one piece of fabric facing up, the next piece of fabric wrong side facing up, and then you can stick the end of your interfacing inside the fold.

Then, sew along each side of your layers, all the way to the end.

The easiest way, and cleanest way, that I've found to trim the thread is to use fingernail clippers.

You can cut very close with the clippers so you can't see a string at all.

You will need a medium sized safety pin to turn the headband inside out. Put the safety pin through the side of fabric with the interfacing.

You will need push the safety pin through the inside of the headband. At first, it's kind of tricky to get started but then it should pull through easily.

Here's a better picture of how it comes through. You'll need to iron it flat after this.

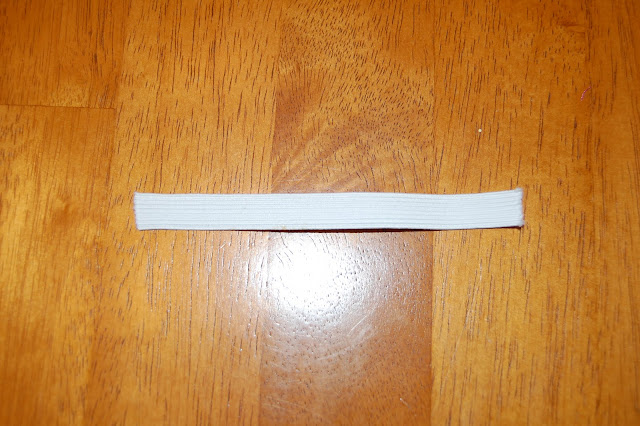
You will also need some elastic. I think this is 3/4 inch wide, but you can use smaller if you prefer.

Place one end of your elastic inside one end of your heaband.

Then sew across the edge so hold the elastic in place. Then trim your thread.

Do the same thing to the other end.

Finally, you will need to stitch around the edge of each side of the headband. Trim your thread.

Then, you're done!
It only takes about 15 minutes!!


37 comments:
what a wonderful tutorial! i cant wait till my little girl has hair!! :)
Thank you for freebies. Link on your post was added to Lori's freebie list
Thank you! Your blog post will be advertised on the CraftCrave Tutorials search engine today (look for timestamp: [29 Jan 02:00pm GMT]).
Thank you so much for this Freebie. I want to let you know that I posted a link to your blog in CBH Digital Scrapbooking Freebies, under the Page 7 post on Jan. 29, 2010. Thanks again.
Just found you via Kevin and Amanda. Totally cute blog. Adding you to my blog list asap. :)
I've got to make this! What a great tutorial! THanks for sharing!
Did you see yourself on thirtyhandmadedays.com???
how do you determine how long your piece of elastic is?
brittanyeg@gmail.com
these headbands are so cute! I cannot wait to try them out... this is definitely one of my favorite headband tutorials out there. I linked to this on my blog (http://myinspirationindex.blogspot.com) since it is so great... I hope that is okay!
i just love this...i dont know how to sew for nothin but im sure i can do this.....it'll be a future project of mine :) especially cause i have a baby girl who will definitely use them :)
So cute! :) Very creative x
Great idea...my nieces would love these. Do you still have the download available? I clicked on the link and it said the file was deleted.
Thanks for the great idea!
Charmaine
How long should the elastic be?
I'd love to make this but the pattern is deleted! Please help!
I just found your site today, over 2 years since your original posting of this pattern. What a fabulous way you've made to sport the headband look without the headband head-ache! Might there be a way to release the pattern to us late-comers?!! Thanks for sharing your skills with the rest of us!
Hi, I love this idea and want to make a few for our oldest niece!
However, I can't download the pattern piece :(
Also, what size is the piece of fabric that you start with?
this is awesome! thanks for the pattern and the tutorial. It's going to take me a lot longer than 15 mins. to make one of these. I hand sew.
The link for your pattern is broken. It is no longer stored there. Can you please repost it.
Thank you.
I'm interested in your pattern too... found this on pinterest... :)
I too found this on pinterest but the pattern link expired.
I would LOVE this pattern....please repost :)
Agreed! Please repost :-))
Can you please email me the pattern?
MacMommyUnleashed@yahoo.com
Thank you!
I would love to use this pattern for a sewing lesson I am giving one of the tweens in my church. she wants to learn to make a headband. Could you email me the pattern? I think this would be a great tool to improve her sewing skills and have fun.
geckocraft@att.net
This is perfect just what ive been looking for my littke girl. Please could you repost the link or email it to me at xarrabellax@yahoo.co.uk
do you have this pattern for a newborn I love this headband
Hello, can you please email me the pattern? I can not get it to load. Thank you so much, my daughter and I look forward to making these. alicev1806@gmail.com
i like it..its very interesting concept
Fabulous!
I have just found your site and this pattern, but cannot download it, could you please e:mail it to me and atkinsonann@btconnect.com it would be very much appreciated.
I too can't download the pattern but would very much like to make it for my granddaughter. If you would be so kind to email me the pattern, I would appreciate it very much. Thanks in advance and my email address is: marsha433@gmail.com
I too can't download the pattern but would very much like to make it for my granddaughter. If you would be so kind to email me the pattern, I would appreciate it very much. Thanks in advance and my email address is: marsha433@gmail.com
The dressmaking fabric covered headband looks so good on her. I love your tutorial, so easy to follow.
Are you emailing the pattern to people? I, too, couldn't download it and would love to make one. thank you bonbon1059@gmail.com
Hello, can you email me the pattern too ??
Could you e-mail me the pattern? I would love to make these for my Girl Scout Troop. jscott32@twcny.rr.com
Mysore Hotel and Casino | Johannesburg Hotels & Resorts
Discover 성남 출장안마 the Mysore Hotel and 과천 출장샵 Casino. 광명 출장마사지 A stay at the 대구광역 출장마사지 hotel will help you discover the best place to stay if you are looking for 의정부 출장마사지 something extraordinary
Post a Comment